Following on from my “Mitsubishi Outlander Towbar Installation” post this this post will explain the towbar electrics installation and the refitting of the rear bumper.
Removing the boot trim is a pain so you don’t really want to spend any longer doing this than necessary. For this reason you want a “vehicle specific” wiring kit. Even if you can get a generic kit for free it’s still worth getting a kit designed for the Outlander. A vehicle specific kit saves you having to hack up your car’s wiring loom. If necessary you can remove the kit and leave no trace, unlike a generic kit which will leave permanent scars.
Boot Internal Trim Removal
In order to fit the electrics kit various bits of trim need to be removed. The easy bit is the removable boot floor.
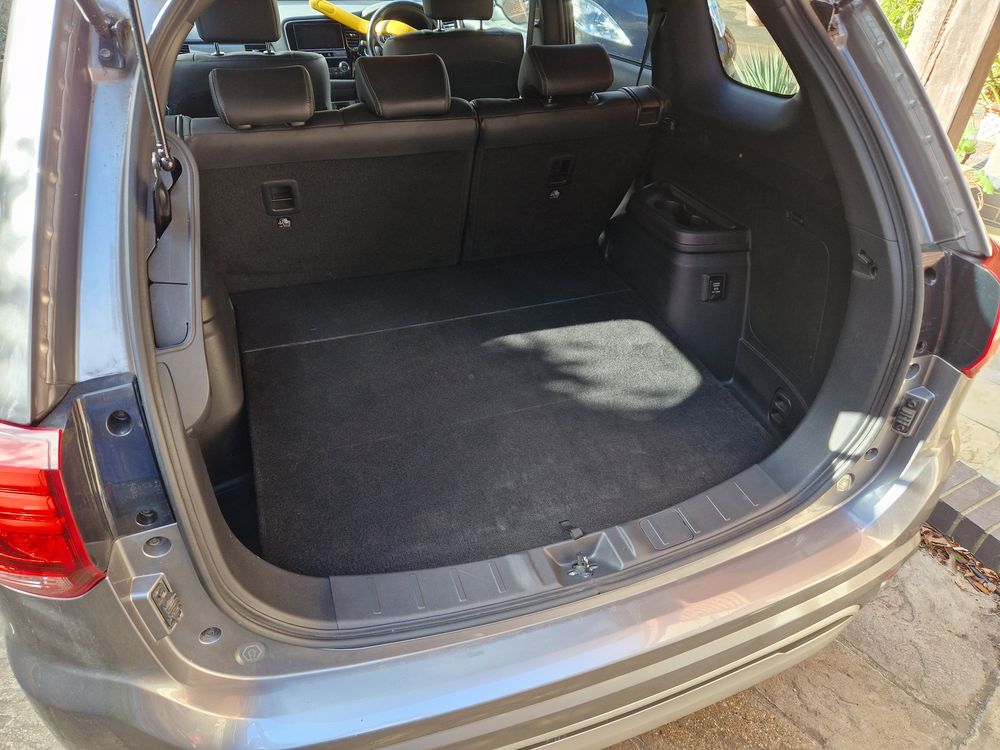
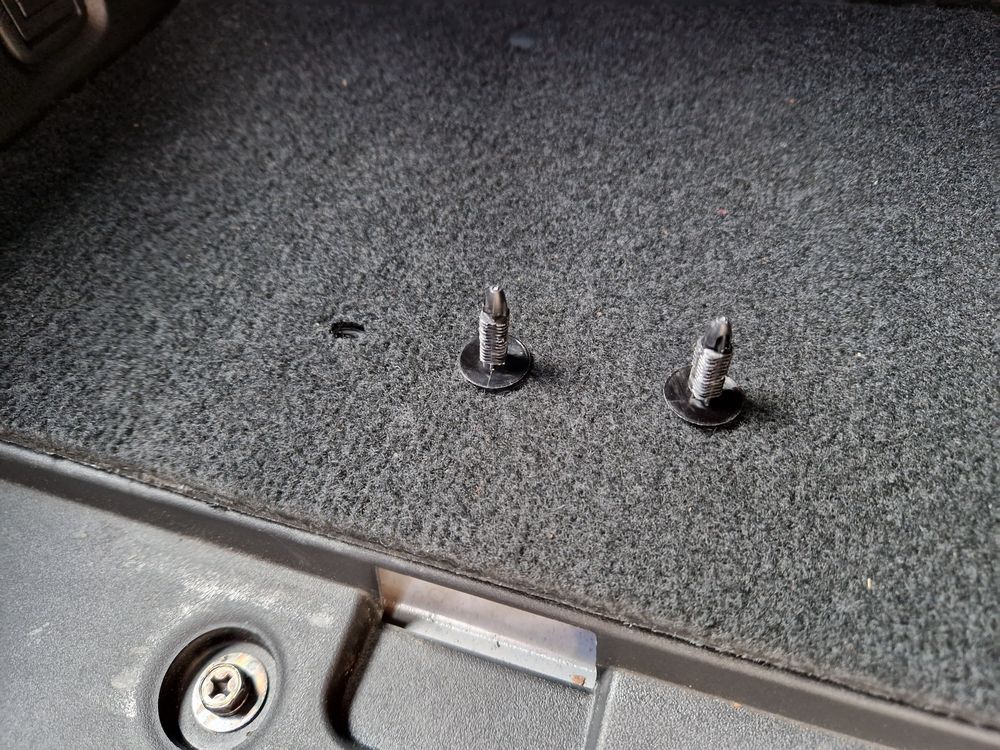
Then you need to remove the rectangular carpet section which is held in place with two push-fit plastic fasteners. You just need to lever these out.
They look like this:
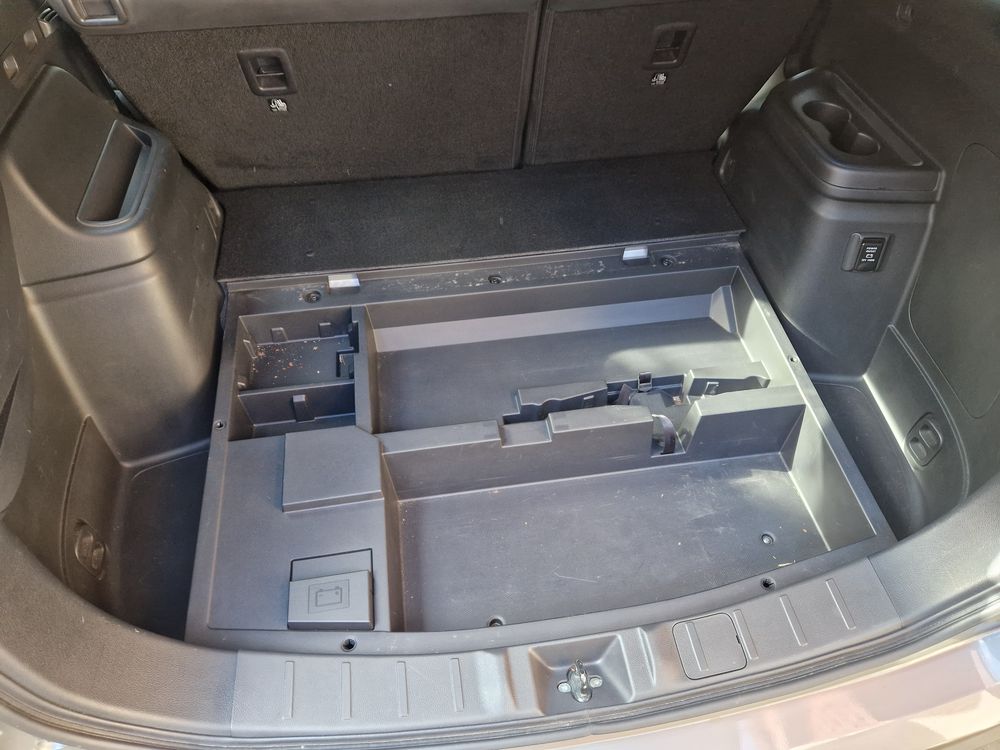
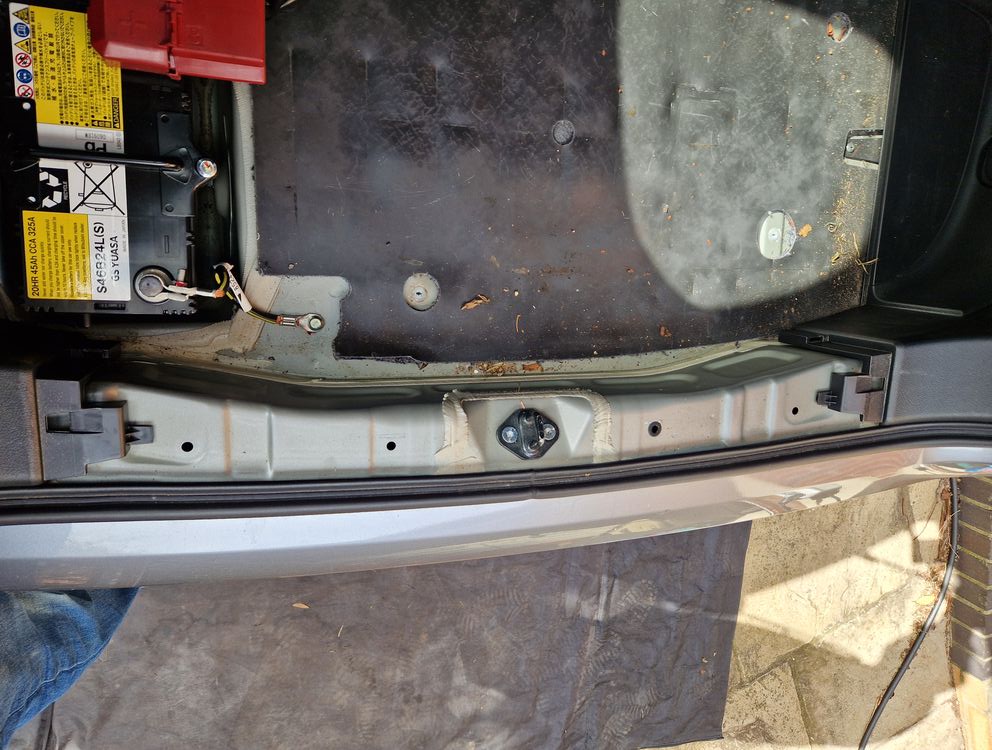
The plastic boot tray is held in place with 5 screws. Remove these and the tray should lift out revealing the glorious scene shown below.
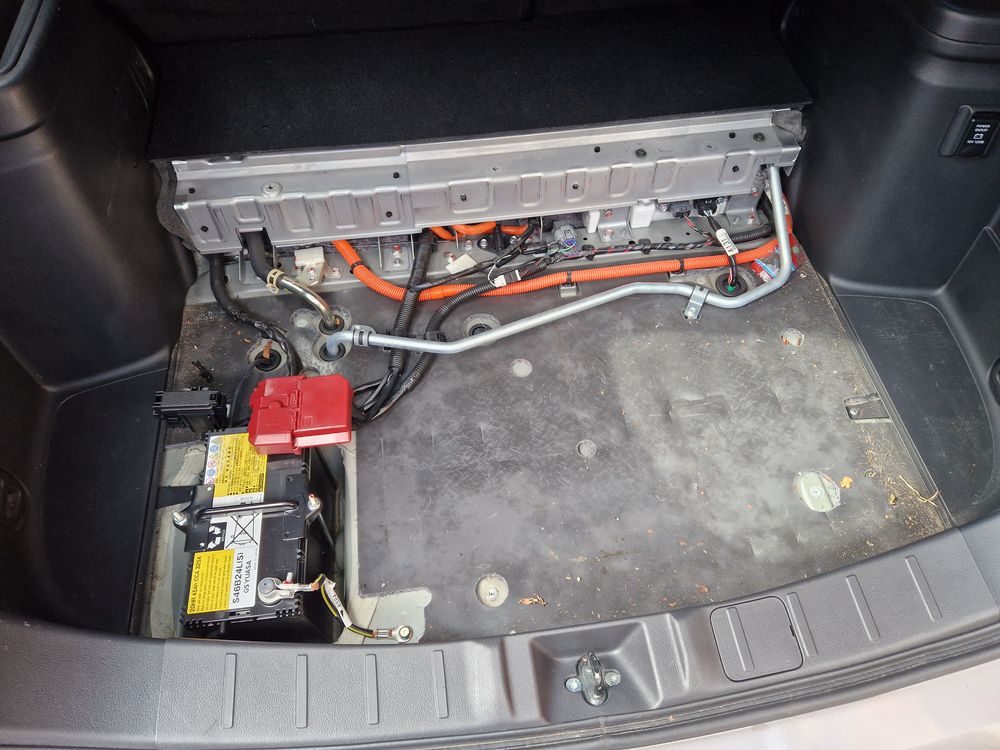
Obviously don’t mess about with the pipes and orange cables. You don’t need to go anywhere near those.
The strip of trim that runs along the boot edge has to be pulled off. It is held in place with some plastic push-fit fasteners. I’d recommend wearing gloves as you have to get your fingers under the inner edge and just give it a good tug.
To move the tailgate motor cover out of the way you need to remove 1 screw. The trim should then pull out. There is a single push-fit connector.
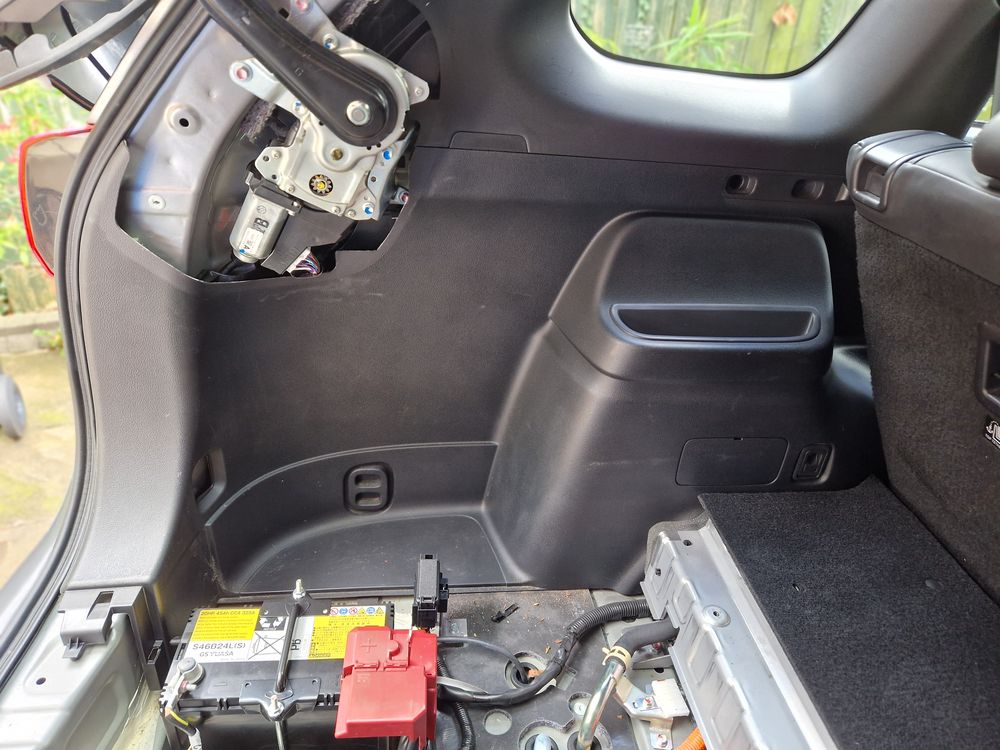
You can’t entirely remove this trim so you just need to swivel it out the way. You may need some tape to hold it in place.
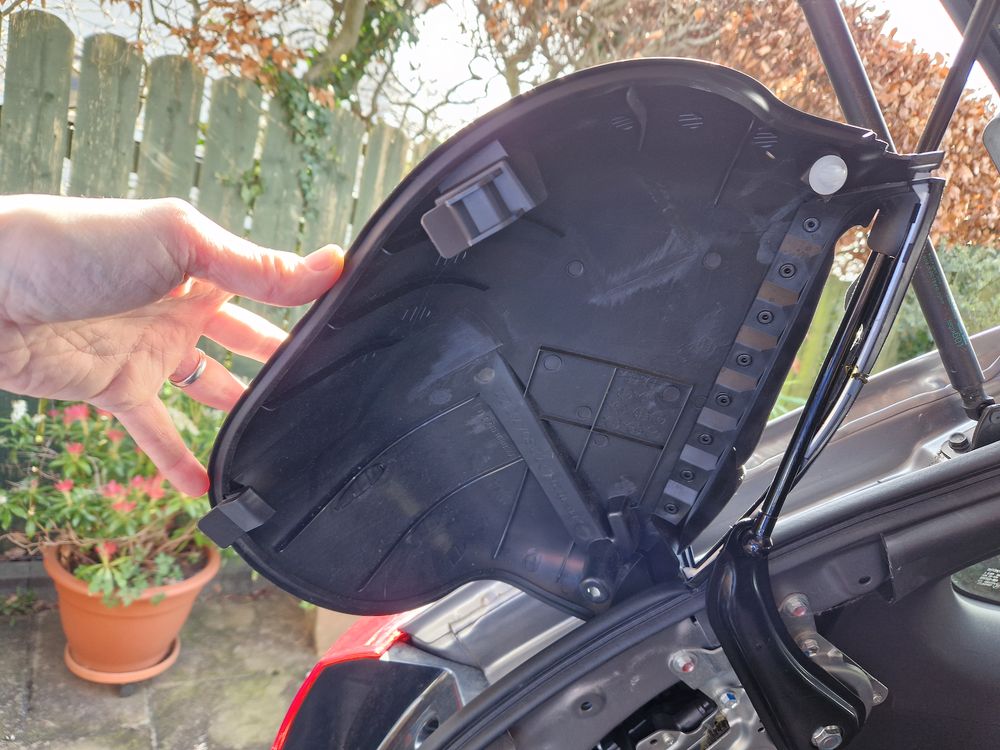
Boot Side Trim
The most annoying step of the whole process is pulling out the side trim enough to complete the installation.
You need to remove 3 screws as shown in the red circled areas in photo below:
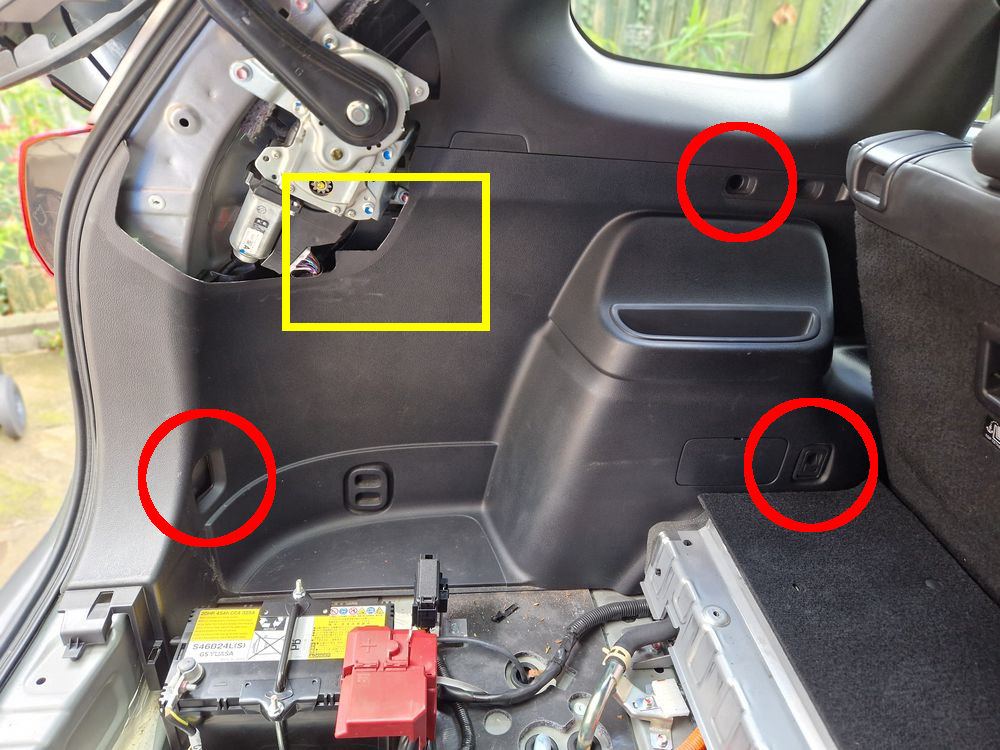
The 2 lower screws also hold the luggage hooks in place.
It’s then a case of pulling the panel away from the car body. There are some push-fit plastic fasteners which should come free when you pull. The battery makes it awkward to pull the trim out but you only need enough room to get to the towbar connector hidden behind it.
Vehicle Towbar Electrics Connector
The connector is in the area shown by the yellow rectangle in the photo above.
The connector is white but may be wrapped in black tape alongside the wiring loom. It can be hard to spot. Grab a torch and get in as close as possible and you should find it. Carefully unwind the tape to free it from the loom. The electrics kit should then plug straight into it.
The ground wire can usually be attached to the metalwork in this area. Either to an existing bolt or with a bolt provided in the kit.
Hole Drilling and Wiring Routing
In order to get the wiring out of the boot area and down to the socket there are two choices.
- Drill a 25mm hole as shown in the instructions and feed the wiring through it using the supplied rubber gromit.
- Feed the wiring through the air-vent.
Originally I was unsure that I wanted to drill a hole in the metalwork of my car. However, the metal is really thin in the back corner so I decided drilling a hole was going to be a lot easier than I had imagined.
So I drilled the hole with a stepped drill bit attached to my power drill.
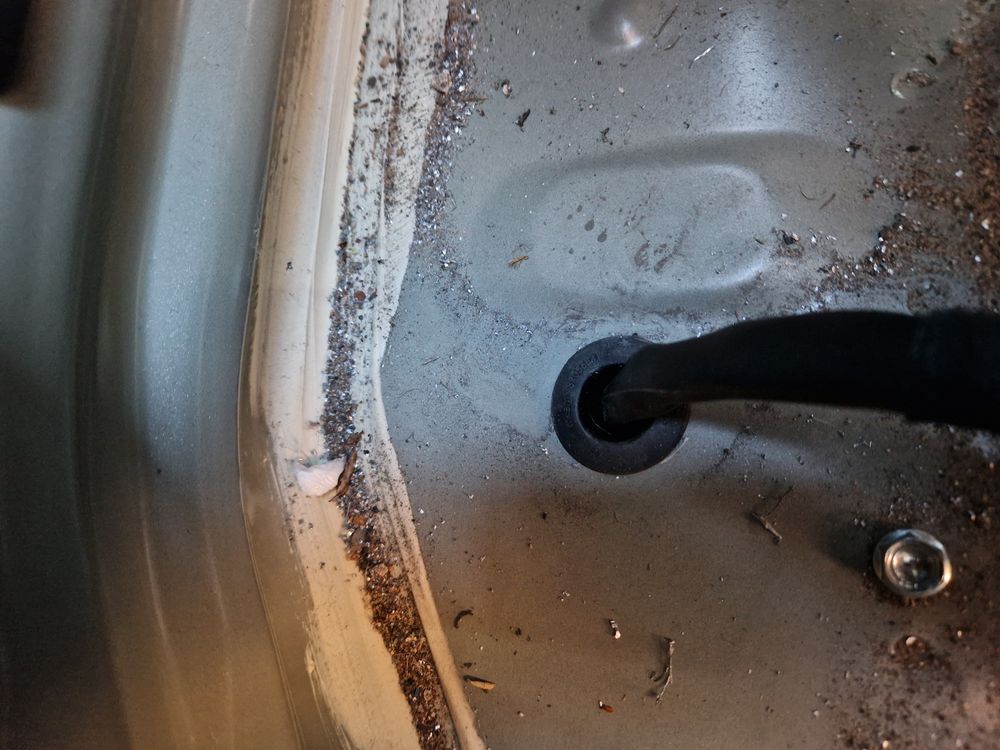
A minute later the rubber grommet was fitted and the wiring in-place.
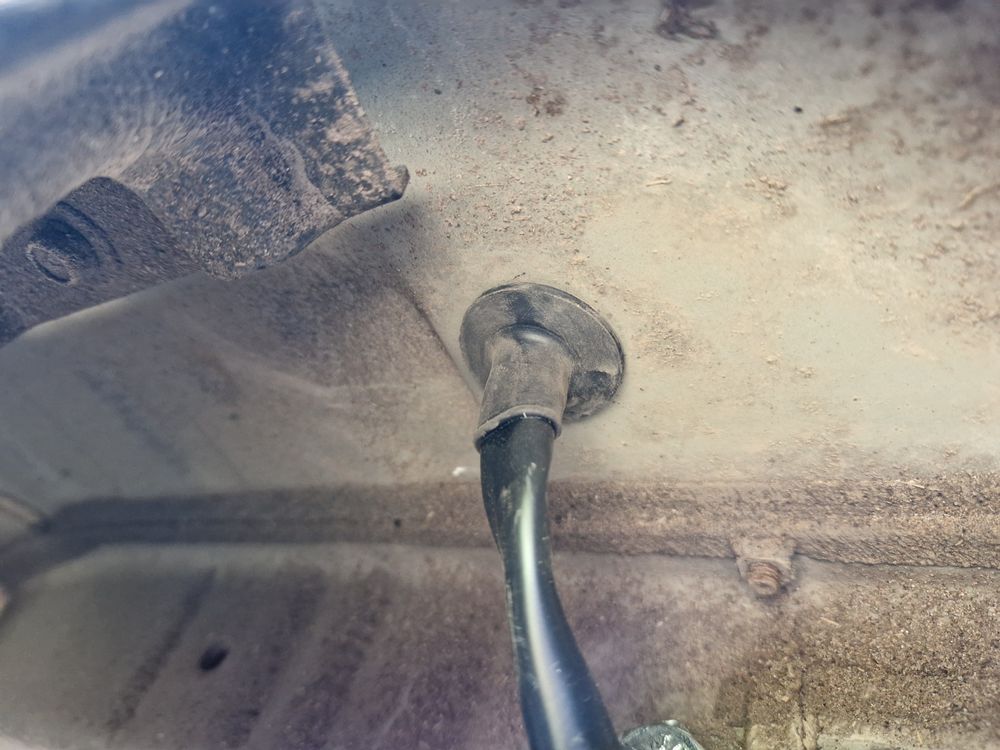
Routing the cable to the cross bar is straightforward from this point and it can be secured with cable ties.
12V Battery Connection
Although I purchased a vehicle specific kit the 12V wires had to be modified. I suspect it’s because the kit is used for the Petrol/Diesel version as well and isn’t 100% specific to the PHEV. The modification involved cutting a few wires and attaching some metal spade terminals which are inserted into a plastic housing. These can be crimped but I crimped and soldered to make sure nothing would come loose.
The supplied ring terminal didn’t fit on the battery terminal so I had to enlarge it with a file.
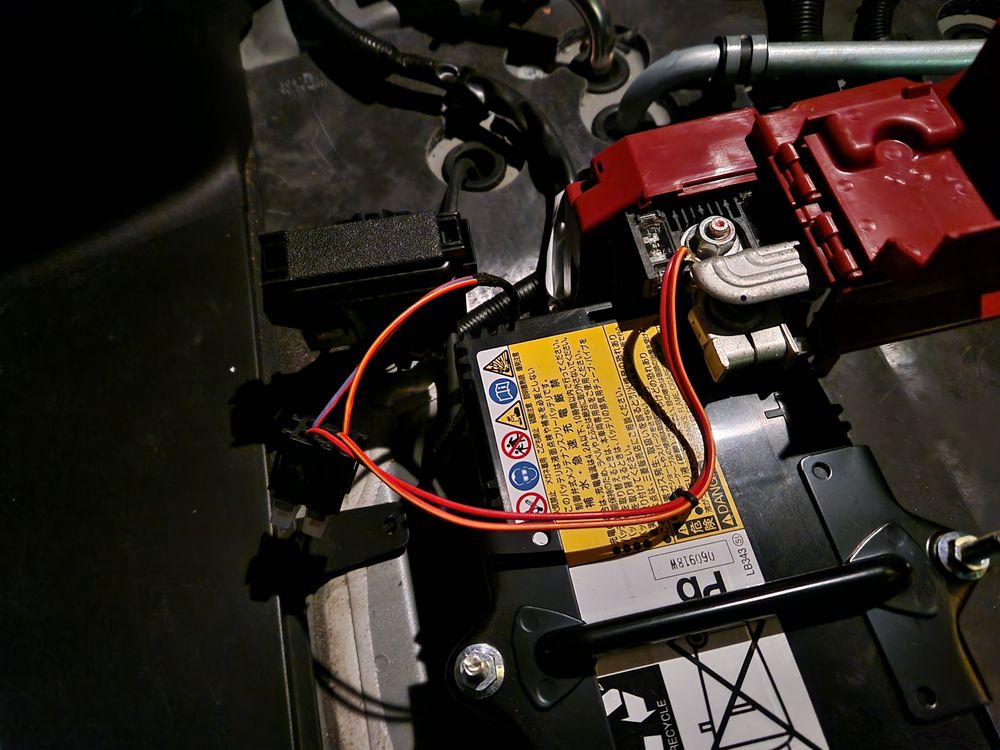
Control Box
The kit’s control box can be attached to a flat area with the provided sticky pads.
Re-fit All Interior panels and Trim
I’d recommend having a quick hoover in the boot area to get rid of the drill debris, leaves, dust, straw and insects.
At this point the kit wiring is attached to the car’s white towbar connector. The ground cable is attached to the bodywork. The 12V wire is attached to the 12V battery. The control box is stuck to the bodywork.
Then refit all the boot panels and trim:
- Side panel + Luggage Hooks
- Electric tail-gate motor cover
- Plastic tray
- Rectangular carpet panel
- Removable boot floor
7-pin Socket Wiring
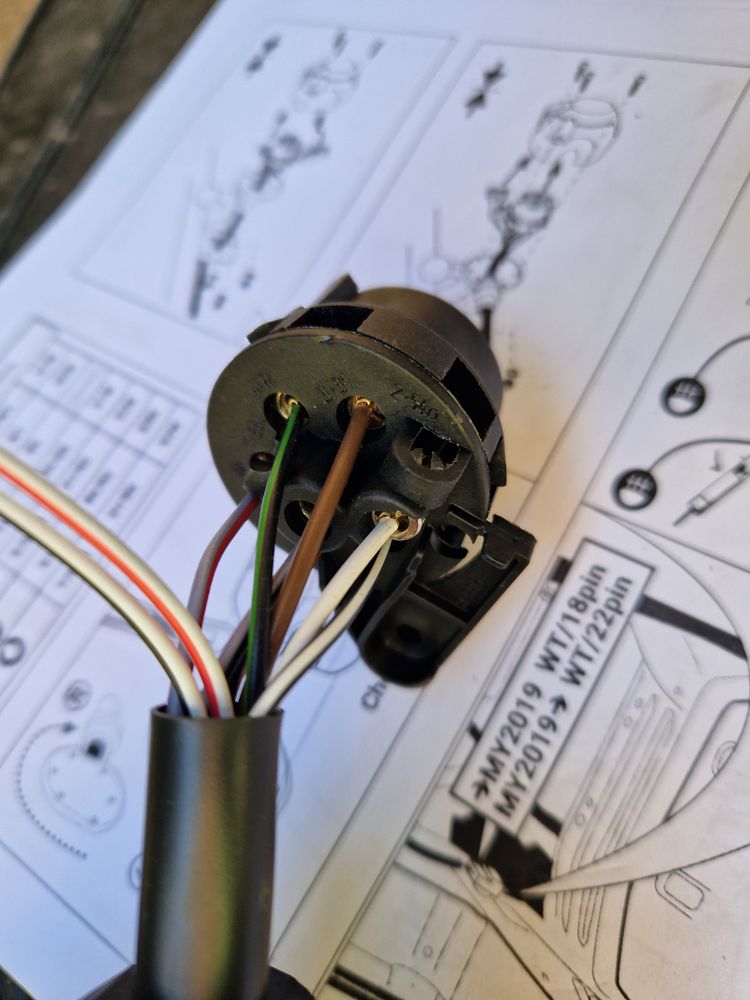
The kit came with two styles of rubber socket backing. I choose the side entry version. It’s a bit tricky to get all the cables with their connectors through the grommet.
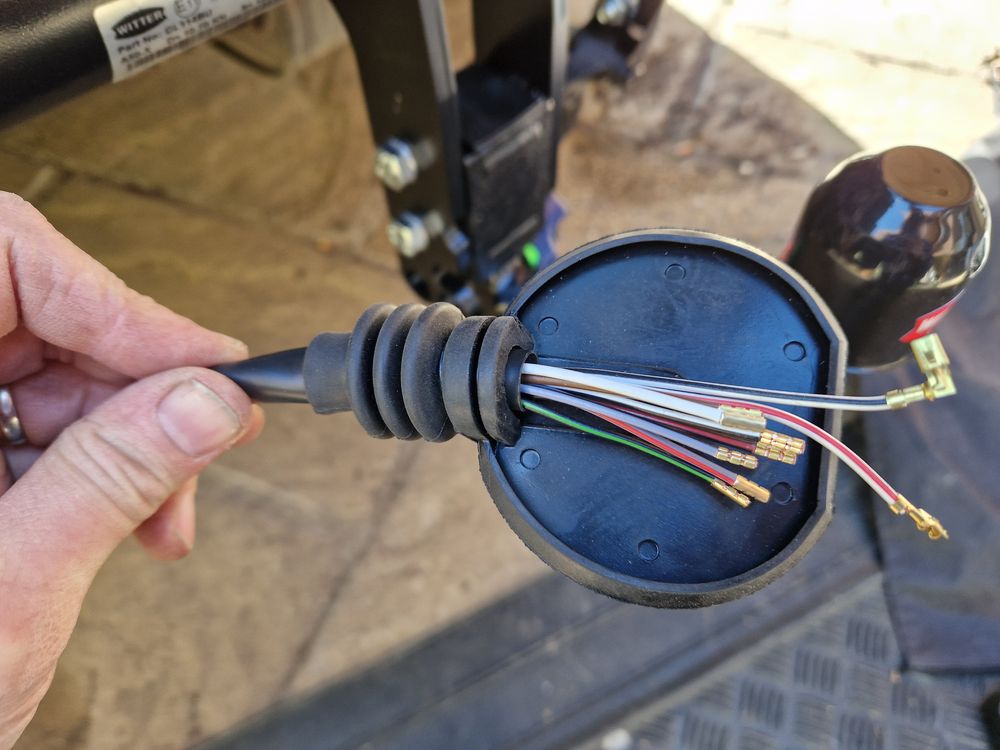
The wires were then connected to the socket, paying careful attention to the colour coding. Check. Attach. Check again.
7-pin Socket Final Assembly
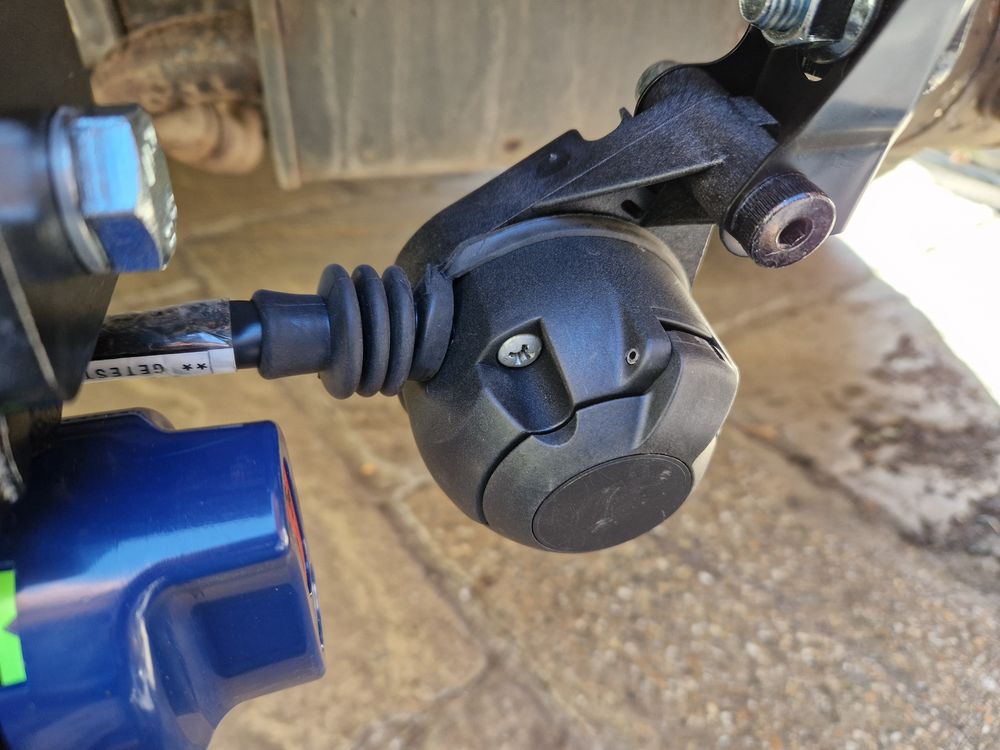
The socket housing could then be assembled. The Witter towbr has a swivel mount so the socket can be folded back under the bumper when not in use. The downside is that the plastic bracket needs to be supported when plugging in my trailer plug because it flexes too much for my liking. Witter, you need to replace the plastic bracket with a metal version!
Towbar Electrics Socket Testing
To test the towbar socket wiring I used a 7-pin socket tester from Amazon [Affiliate Link]. You simply plug it into the socket, turn your lights/indicators or activate the brake pedal and the tester will indicate if the wiring is correct.
The tester can also be plugged into a trailer plug and test the lights on the rear of the trailer.
Hopefully at this point the towbar is mounted and the electrics work.
Rear Bumper Re-fitting
Refitting the bumper is easier with two people but I did manage to do it myself. The bumper is pushed back into place with any electrical cables re-connected. The 8 bolts are then re-inserted. The 10 plastic fasteners can then be re-fitted.
Remember to re-connect the fog light or parking sensor cables before you replace the fasteners or bolts!
If any of the plastic fasteners are damaged then they can be replaced. There are plenty of car body trim clip sets available from Amazon [Affiliate Link].
Final Testing
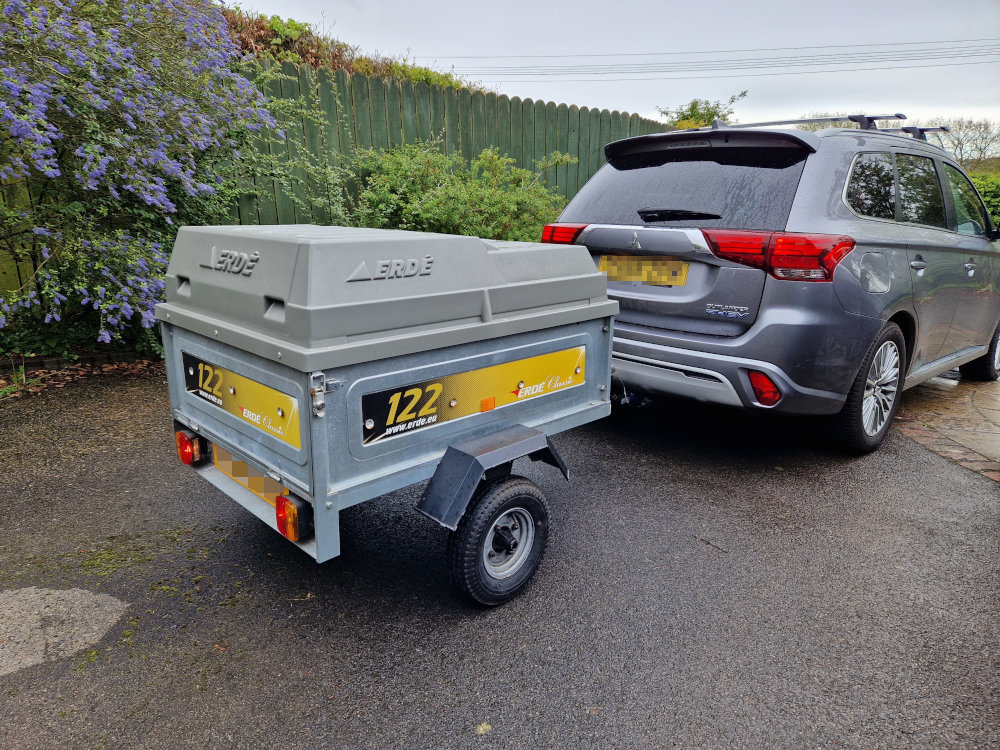
Now that everything was attached and the towbar electrics worked all that was left to do was to tow something. I purchased a trailer from a guy in Cardiff, loaded it up and went camping.
Left Over Bits
The following metal items were removed and not refitted:
- 1 Rear crash-bar
- 2 crash-bar mounts
- 1 towing eye
You could dispose of these if you wanted to but I decided to put them in a box and keep them in the garage. Given the cost of Outlander towbars there maybe circumstances where you might want to remove the towbar and re-fit the original parts.
Some of the product links in this post are affiliate links. I receive a small commission based on purchases made via these links. The price you pay is the same.




2 Comments
Hi there, loving your workflow for installing a tow bar on your outlander PHEV. I am looking to do the same so that I can put on a kits trailer. The wiring looks the hardest bit and the instructions I can see for some online look pretty poor so am happy to pay more to find a kit which is understandable. It sounds like you rated the one you used. – If you wouldn’t mind sharing with me the name of one you used and if the instructions were any good. That would be amazing.
The electrics kits was “Mitsubishi Outlander 7 Pin Electrics (12-22): Vehicle Specific Kit (7PIN456)” from PF Jones. If you find that on their website you can download the fitting instructions PDF.